Introduction
Blazor is the next-generation front-end web application framework for .NET developers. The framework offers a productive and powerful way to construct large-scale applications with a modern component-based architecture. Migrating legacy .NET Framework and Web Forms to Blazor is a monumental task. Migration requires knowledge of breaking changes between platforms and careful planning.
What You’ll Do During the Workshop:
- Understand the scope of migrating your .NET applications
- Explore the Microsoft Upgrade Assistant for Visual Studio
- Determine what code can be migrated to .NET 7
- Start a new Blazor Server project
- Migrate an existing Web Forms codebase to Blazor
- Tap into Progress Telerik UI for Blazor to generate Blazor views
- Create a DataGrid with full editing
Note callouts, contain contextual information for the current step. These notes are proved by the author to help communicate steps or concepts directly related to the workshop.
Tip callouts, contain related information that may be useful outside the workshop.
Prerequisites
For this workshop, a basic understanding of Microsoft ASP.NET technologies is recommended. Throughout the workshop ASP.NET on .NET Framework and .NET Core will be utilized.
Technologies used:
- Visual Studio
- ASP.NET
- Blazor
- C#
- Razor
Individuals may need administrative rights on their system to complete some tasks in the workshop.
To complete the workshop be sure to install the following prerequisite items. All the items below have free, or free trial options. If you have existing paid licenses of Visual Studio 2022 or Telerik UI for Blazor please use those and do not reinstall the free versions.
- Visual Studio 2022 [Any Edition]
- .NET 7.0.5 or later
- Telerik UI for Blazor Free Trial or Licensed
- .NET Upgrade Assistant for VS 2022 (Preview)
- eShopModernizing GitHub Repository
Getting started
-
Clone the eShop Repository that contains the sample Web Forms application.
Throughout this workshop we will be migrating the eShop sample application provided by Microsoft via GitHub. If you have not already created a clone of the repository, create one now. This repository contains multiple eShop solutions. For this workshop we will be using the eShopLegacyWebForms solution.
-
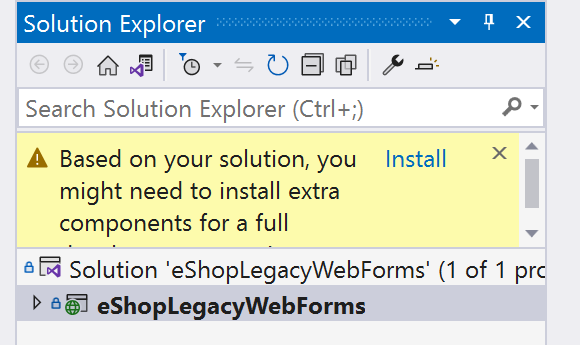
Open the eShopLegacyWebForms solution and install any missing frameworks. This step may vary from system to system.
After cloning the application, navigate to the solution in Visual Studio. You will see multiple solution files in the repository, choose eShopLegacyWebForms. Be aware of any notifications from Visual Studio that might inform you of additional dependencies that will need to be installed. Look for a yellow banner with an Install link in the Solution Explorer. Click install, follow the prompts and complete the installation as needed.

After installing frameworks and workloads a reboot of Visual Studio may be necessary.
-
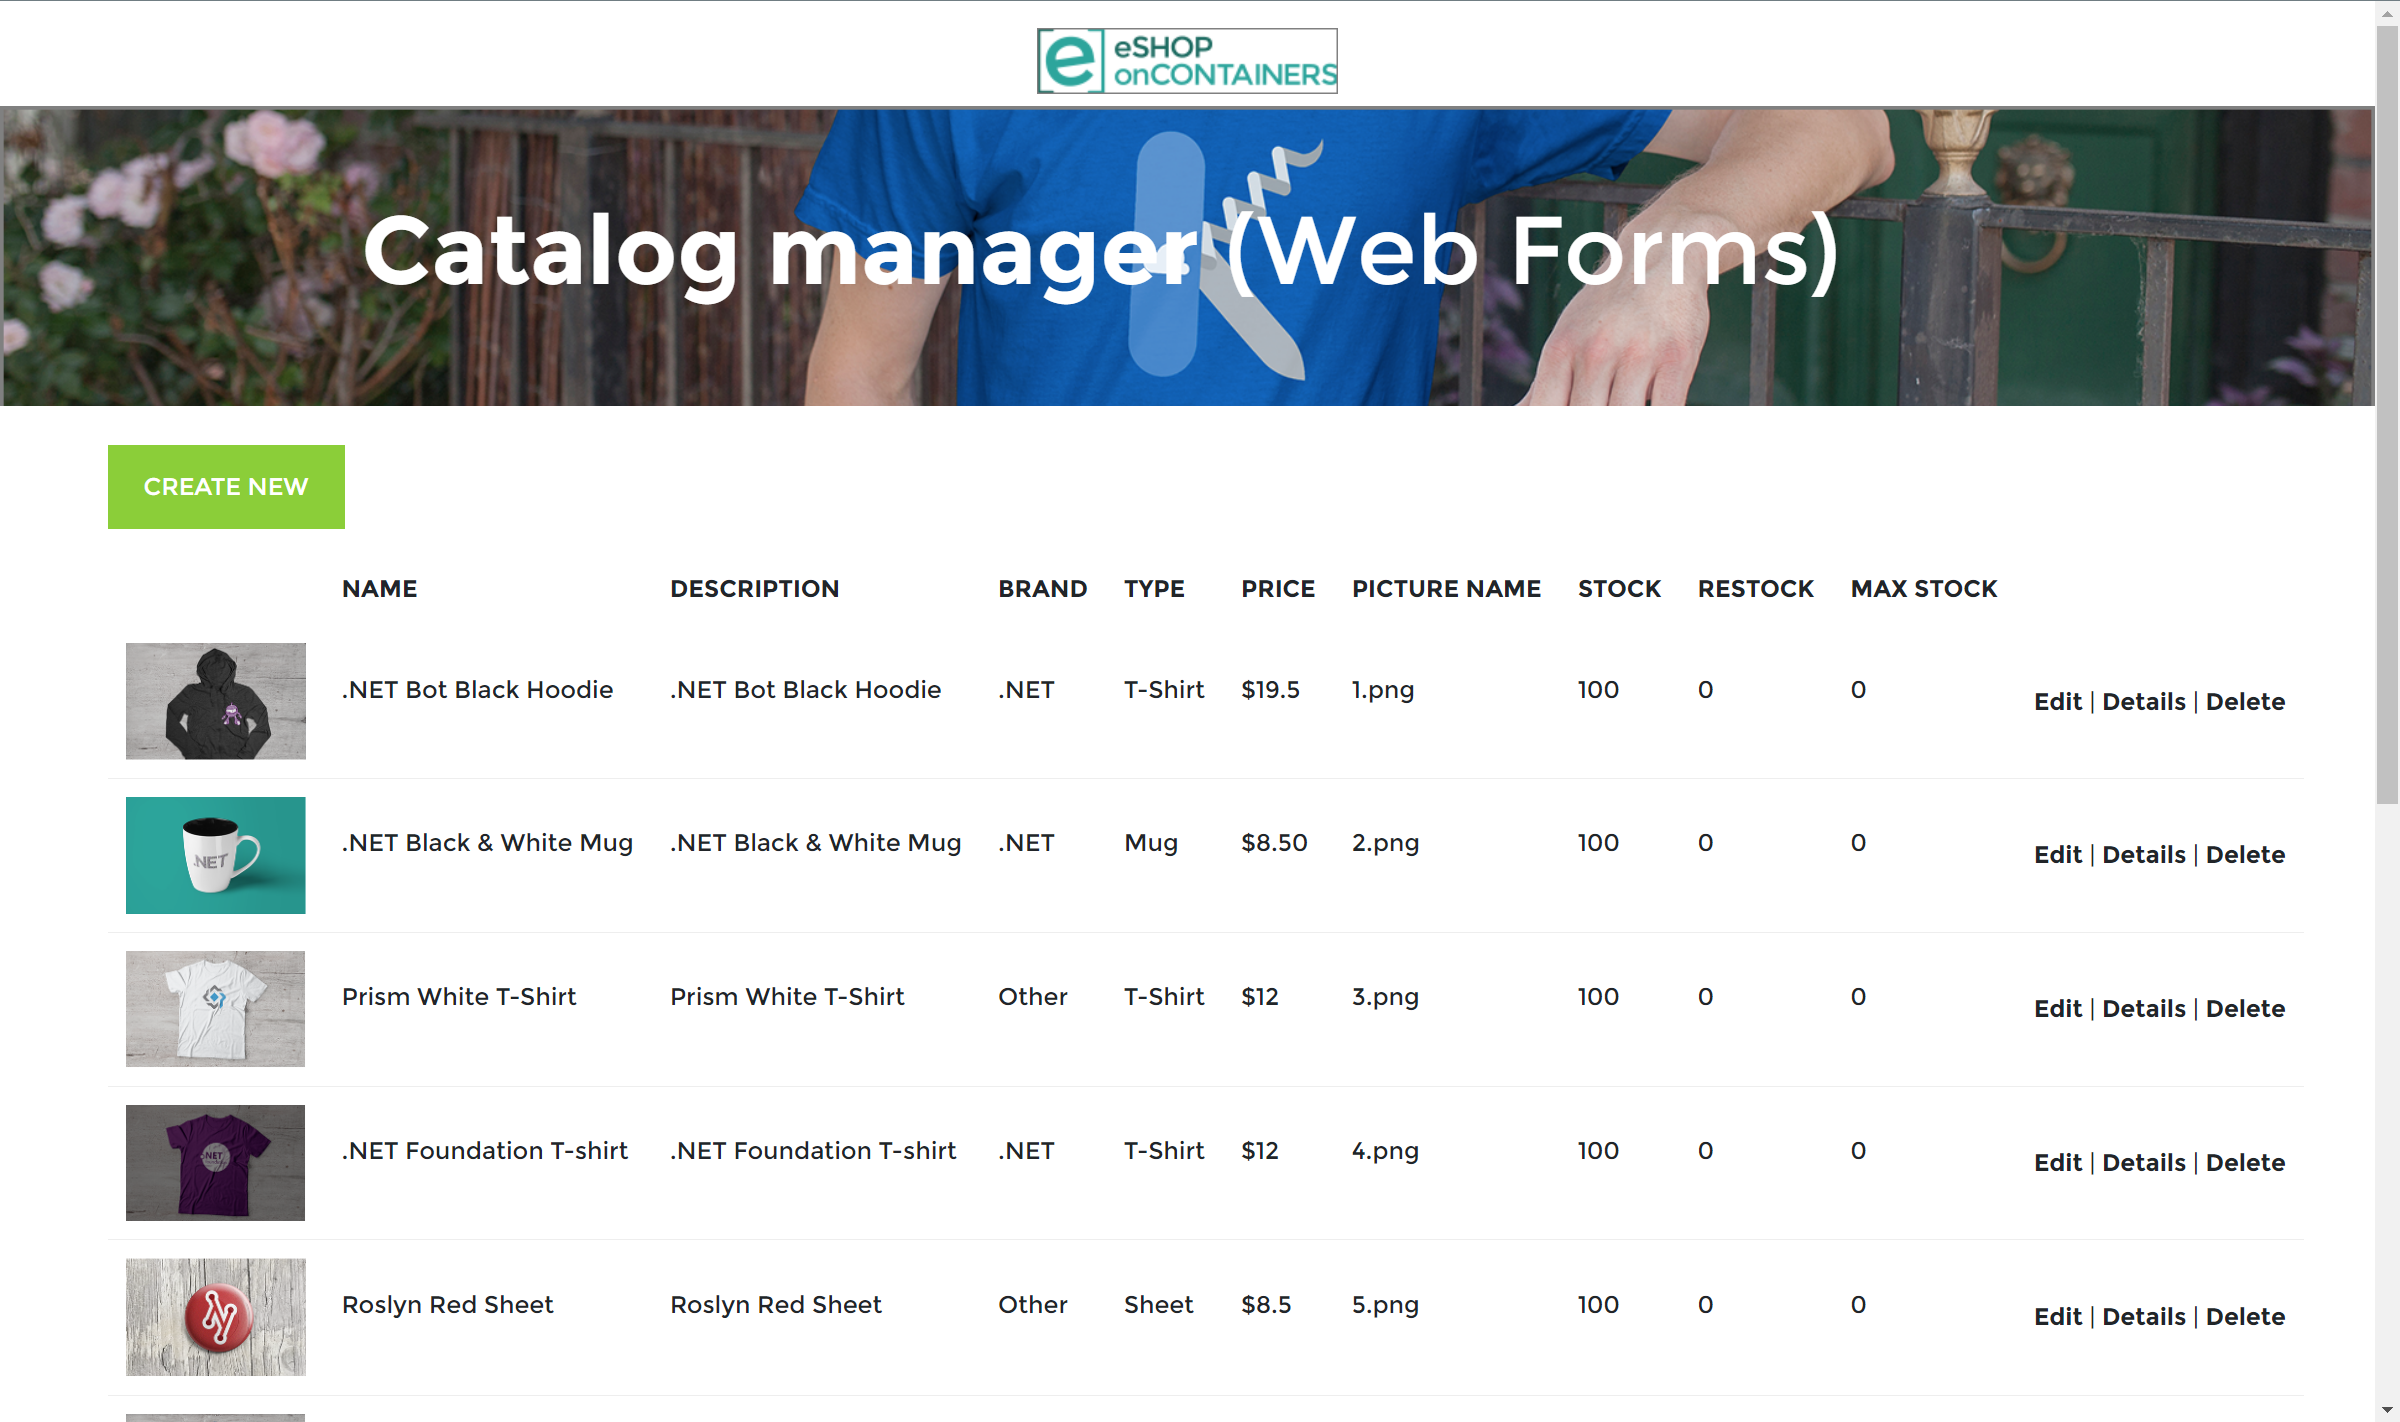
Start the eShopLegacyWebForms application. From Visual Studio, click Start or press F5. The sample application is a simple store management page with view, create, edit, and delete functions. Explore the application, and make reference of the different actions and page views.
If the application does not run on the first try, start the application a second time. The first time building the project occasionally hits a race condition where resources are not yet ready for the application to run. Running the app a second time typically works.

-
After verifying the application starts properly, close the browser or stop the application from Visual Studio.
Take a moment to review the structure of the application and become familiar with its parts.
- App_Start, this folder contains the startup routines for the application.
- Catalog, this folder contains the Create, Delete, Details, and Edit features for the application.
- Models, this folder contains various data models for the application and its database.
- Modules, this folder contains dependency injection (DI) configurations for AutoFac.
- Services, this folder contains data services used in the application.
- ViewModel, this folder contains a class used as a data projection for the application’s main view.
-
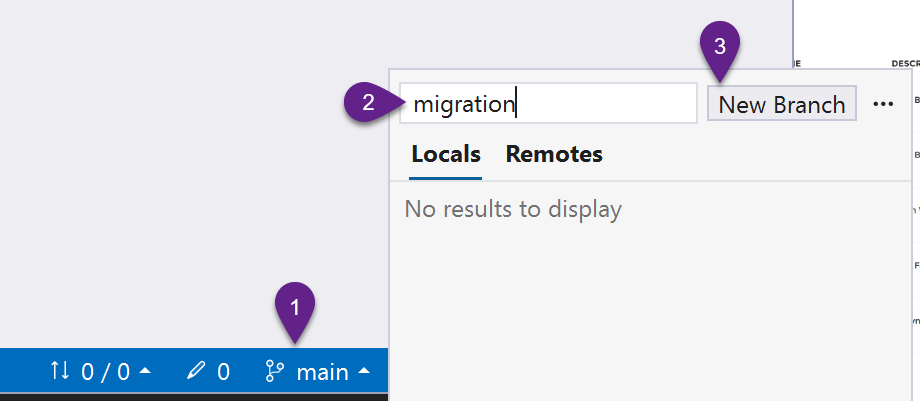
Create a git branch named migration. This branch will contain the migrated application and track changes to the application.

Conclusion
In this section the prerequisites for the workshop were installed, and the application was cloned to the local machine. These steps prepared us for the remainder of the workshop.
In the next section we will create a new project which will eventually become the migrated application.